How to Use Luminar Neo to Enhance Your Midjourney AI Art
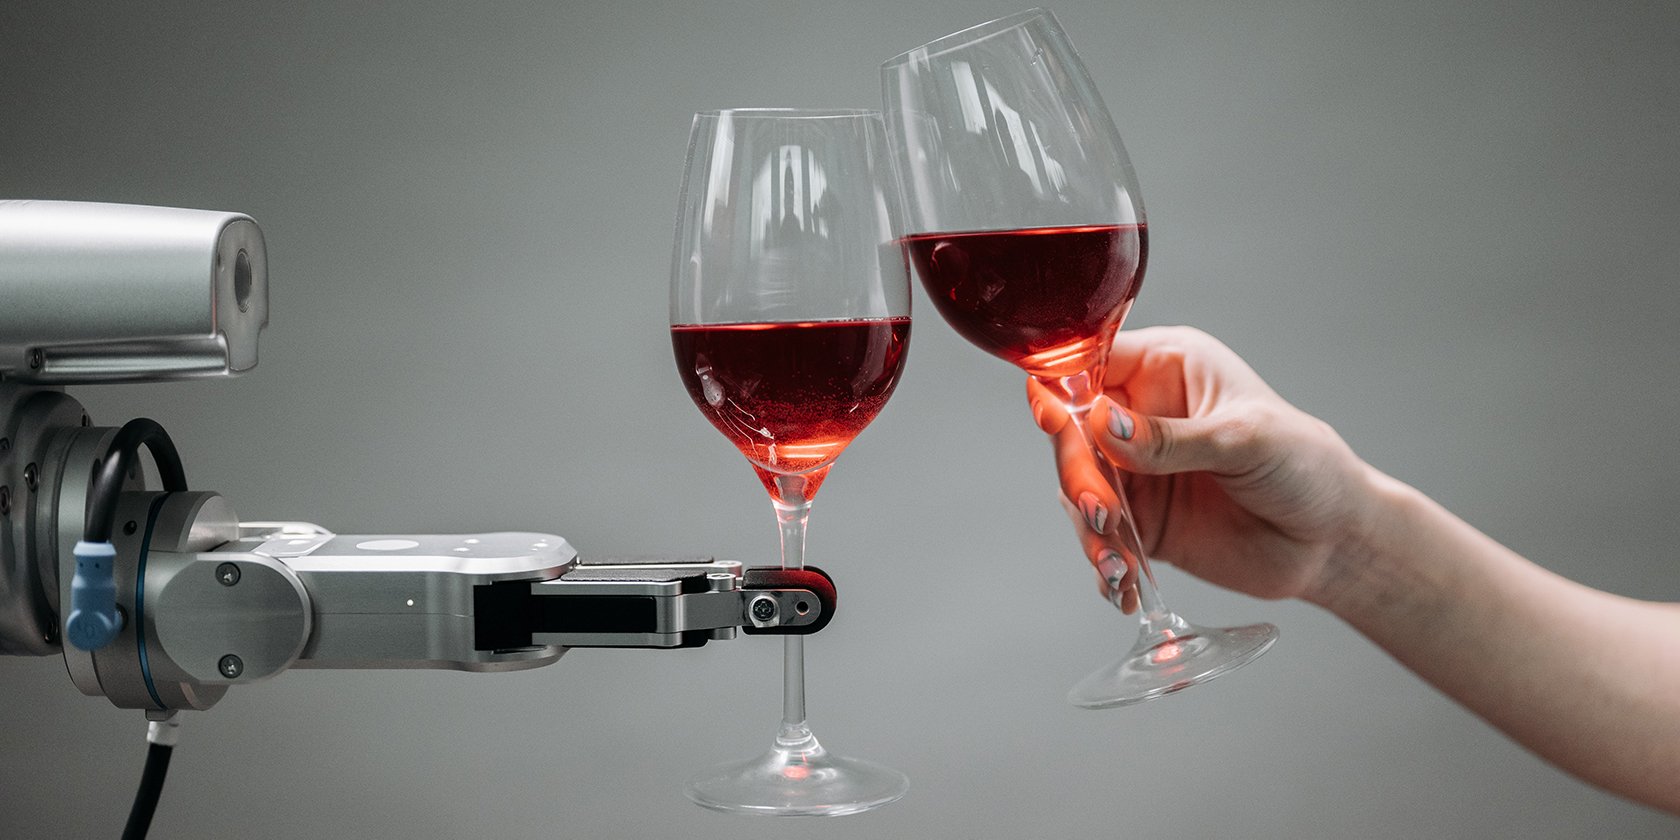
Image courtesy of Pexels.
Midjourney AI is capable of producing fantastic artwork, but sometimes there's room for improvements to really make the image shine. In this tutorial, I’ll show you how to use Luminar Neo to enhance your Midjourney artwork to set it apart from the rest.
Ways to Improve Midjourney Art

Image courtesy of Pexels
You can create fantastic artwork using Midjourney. But there are some common issues that Midjourney has yet to address. Here are just a few of them.
Many images tend to be on the darker side unless prompted otherwise.
Upscaled images are still low resolution, 1,024 x 1,024 pixels for square images and 1,536 x 1,024 pixels for 3:2 ratio images in Version 4.
Sometimes there are strange artifacts that need to be removed.
Images with people often need corrective editing, especially with facial features and hands.
Most images could use sharpening.
Many images tend to have a "Midjourney look".
Fortunately, Luminar Neo has a suite of creative editing features that can address many of these concerns. Let's look at how you can improve your Midjourney art using the advanced features of Luminar Neo.
How to Create a Workflow in Luminar Neo

Image by Craig Boehman
If you're looking to take your Midjourney art to the next level so that it looks less like other Midjourney art, and more importantly, more like art that you want to create, consider developing a workflow that involves both corrective and creative editing.
For example, let's imagine that you would like to address some of the issues that we raised in the above list and that you wanted to leave plenty of room to add your own creative touches. Let's create a workflow around this image of the robots shaking hands just to give you an idea of what's possible.
Use Upscale AI to Make a Larger Image
Many Midjourney users will find the Midjourney upscale feature adequate to share their unedited artwork. But for creative users of Luminar Neo, the fun has only just begun! A great first step in any workflow would be to use Luminar Neo's Upscale AI plugin to increase the image's resolution.
You'll want to load the upscaled version of your Midjourney artwork into Luminar Neo and drag and drop it into Upscale AI.

Image by Craig Boehman
Then you simply choose 2x, 4x, or 6x for how large you want the image to be. For our example, we chose 6x to produce a 6,144 x 6,144-pixel image.
Use HDR Merge to Enhance Your Image Further
Luminar Neo has an HDR extension that dramatically increases your image's dynamic range. Not every Midjourney image will require this step in the workflow, but it's worth pointing out because the image will be brightened through the process. As with the above step, simply drag and drop the image into the HDR Merge box.

Image by Craig Boehman
Next, we're ready for the Edit menu.
Start With Enhance AI
A logical way to conduct any workflow in Luminar Neo is to start from the top of the Edit panel and work down. And arguably one of the quickest and effective tools to start with is Enhance AI. It's such a useful tool that I added it to Favorites so that it's near the top.

Image by Craig Boehman
The two sliders, Accent AI and Sky Enhancer AI, immediately provide dramatic results to any image.
Extensions: Supersharp AI
If you have an annual subscription or have purchased Luminar Neo Extensions, one of the most useful is Supersharp AI. Choose which level of sharpening you'd like to apply (you may have to experiment) and you'll greatly improve the sharpness of your Midjourney artwork.

Image by Craig Boehman
There's even a Face Enhancer AI feature that you can check if you're working with portraits.
Structure AI for Making Images Pop
Structure AI is great to include in many workflows simply because it helps bring out the details more.

Image by Craig Boehman
With only two sliders, it's easy to boost both the large and small details. And like many of the tools, there's a masking option so that you can selectively apply effects to only the areas of the image that you want.
Use Details for Most Images
Details is an extremely useful tool that most images can take advantage of. With Small, Medium, and Large sliders along with Sharpen and extra masking options, Details will make your images more impactful.

Image by Craig Boehman
You can think of Details as a complementary tool for Structure (or vice versa!). Also, if you haven't purchased extensions like Supersharp AI, Details will be essential to your workflow.
The Mood Tool to Set Your Midjourney Images Apart
Under the Creative suite, you'll find Mood. The looks in this set behave much like LUTs in Photoshop or presets on your smartphone photo editor.

Image by Craig Boehman
I used San Diego for this image and boosted all three sliders. This is where you can begin to change the "Midjourney look" to something more of your own.
Film Grain for Image Cohesion
When you pixel-peep at many of your Midjourney artworks, you'll probably notice a few flaws in the image, some of which are easily visible. Some of these flaws include parts of the image that should be in focus, hard lines around subjects, and other miscellaneous quirks that are part of the Midjourney processing. Adding Film Grain to your images can help bring cohesion to your artwork, especially when there are multiple edits involved.

Image by Craig Boehman
For our robots, I increased the Amount slider and reduced both the Size and Roughness to 1. This method tends to introduce a texture that isn't too overbearing.
Add Layers for Textures and Lighting Effects
The Layers feature allows Luminar Neo users to really set their images apart by introducing textures, additional elements (compositing), and included lighting effects.

Image by Craig Boehman
For this image, I added two custom textures and two lighting effects that are included in Luminar Neo. Your imagination is the only limit to what you can achieve using Layers.
Create a Preset to Speed Up Your Workflow

Image by Craig Boehman
You may decide to only use a portion of the total creative tools included in Luminar Neo with the intention of creating a preset. For example, I left out a host of vital tools, like the Develop module, that places Luminar Neo squarely in the realm of professional photo editing. But that's part of the workflow strategy: create a preset containing all the basic edits you'd normally need for an image, apply it, and then use the other tools to fine-tune your Midjourney artwork.
Creating a Preset is easy. At the bottom of the image, just click on Save as Preset. Then name it.

Image by Craig Boehman
Once you create your Preset, you can access it anytime under My Presets. While it won't include our initial edits which included Upscale AI and HDR Merge, it will recall all the changes made in the Edit menu, including any extra Layers.
When Two AI Programs Come Together
Artificial Intelligence isn't perfect and arguably never will be. That's why Midjourney users will find great comfort knowing that creative photo editors like Luminar Neo are capable of corrective and creative editing to truly make text prompt artwork feel like it's your own.

If you’d like buy Luminar Neo, consider using my affiliate link. It doesn’t cost you anything addtional, but I get a small commission to help support my work.