How to Quickly Soften Rough Skin and Wrinkles in Photoshop
If you do a lot of portrait editing, there may be times when you want to quickly soften rough skin and wrinkles without using a lot of time-consuming techniques. I’ve got the solution for you.
In this tutorial, I’ll show you how to soften rough skin and wrinkles in Photoshop and how you can apply the same technique to skies in landscape photos.
Let’s get started!
How to Soften Rough Skin and Wrinkles
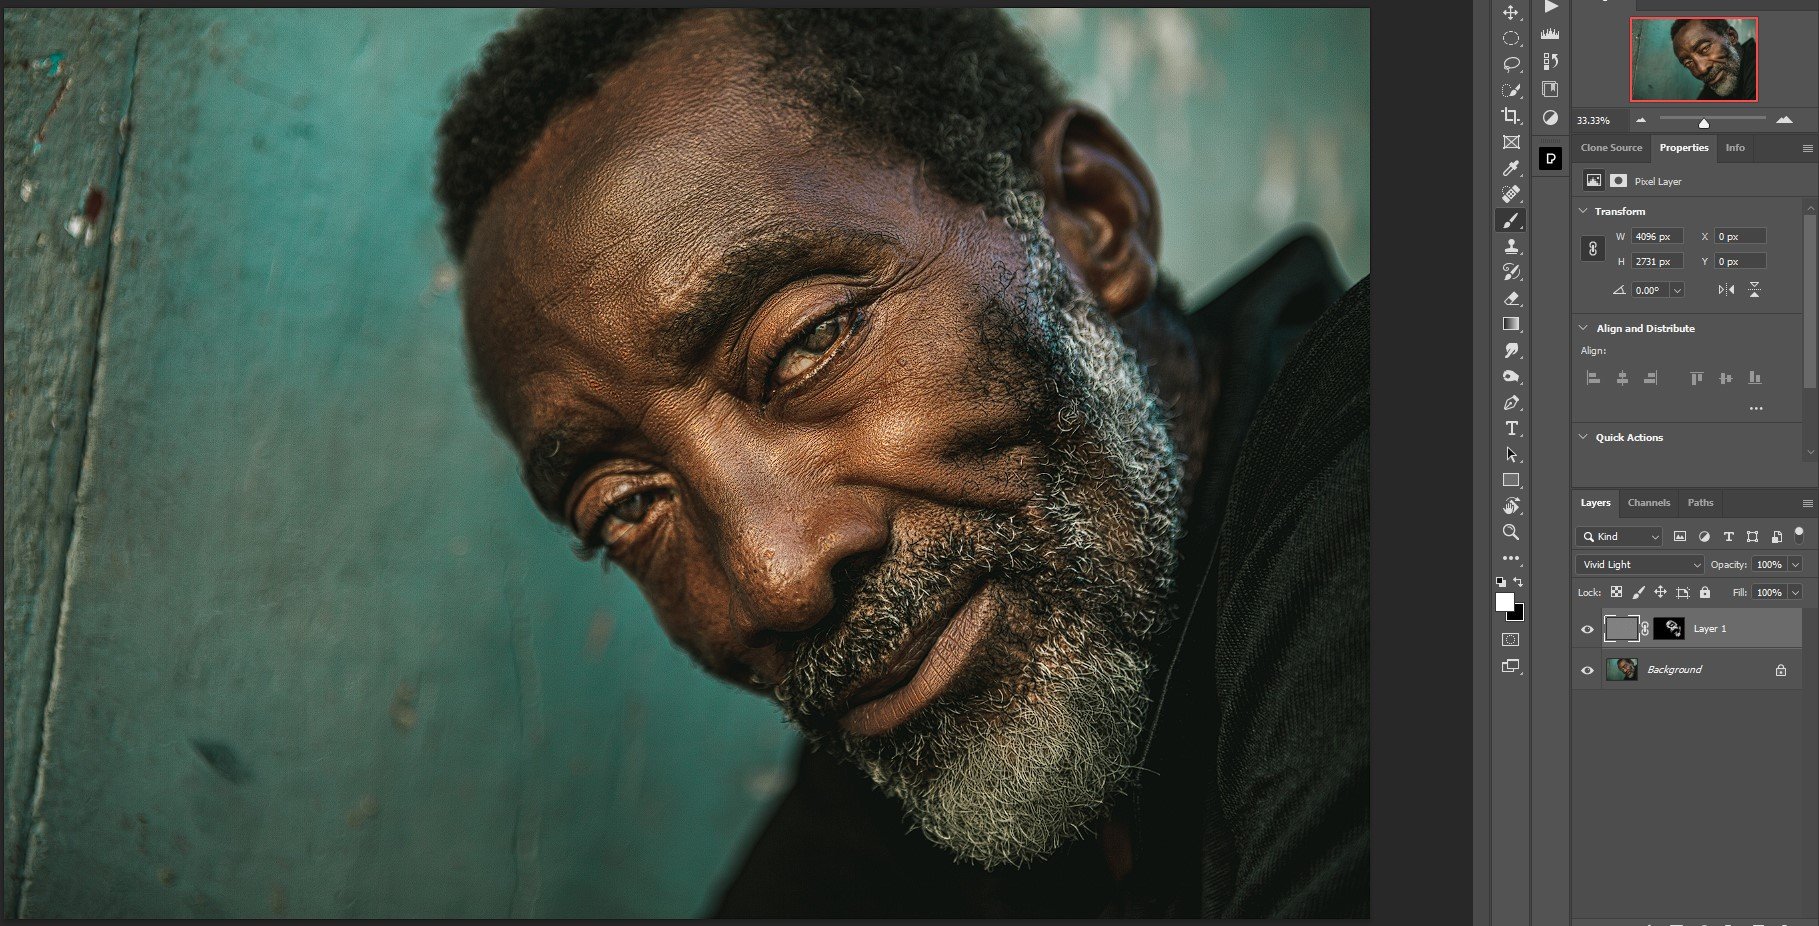
There’s a tendency for Photoshop users to go too far when retouching women’s faces, often resulting in a plastic-like effect. For men, it’s just the opposite; there’s a tendency to over-sharpen features. In this example, this gentleman's features could be softened a bit for a more natural look.
If you’d like to follow along, you can download the image at Pexels.
1. Duplicate the background layer by pressing Ctrl + J.

2. Press Ctrl + I to invert the layer.

3. Change the blend mode to Vivid Light.

4. Go to Filter > Other > High Pass.

5. Set the Radius to 24. Press OK.

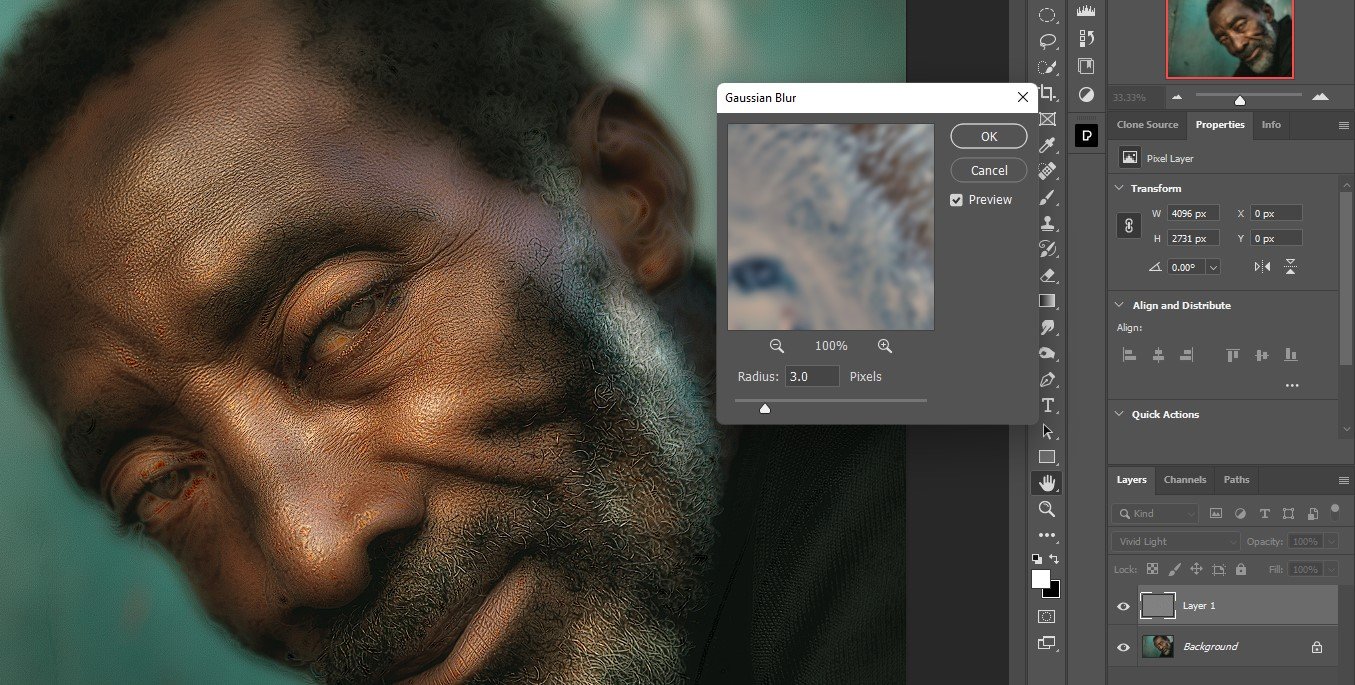
6. Go to Filter > Blur > Gaussian Blur.

7. Set the Radius to 3. This number will vary based on the image resolution. You’re looking for a number that gives a slightly-over smoothened look that can be dialed back later. Press OK.
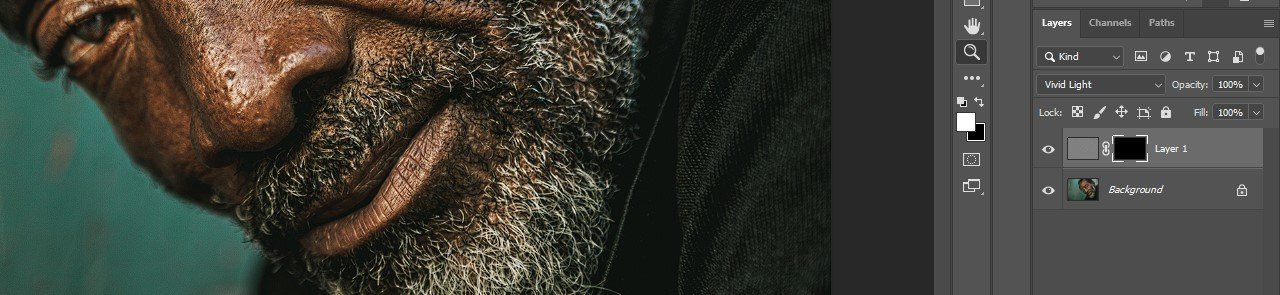
8. Press and hold the Alt button and click on the new Mask icon to create an inverted mask (all black).
9. Press B for the Brush tool. Then select a Soft Round brush.
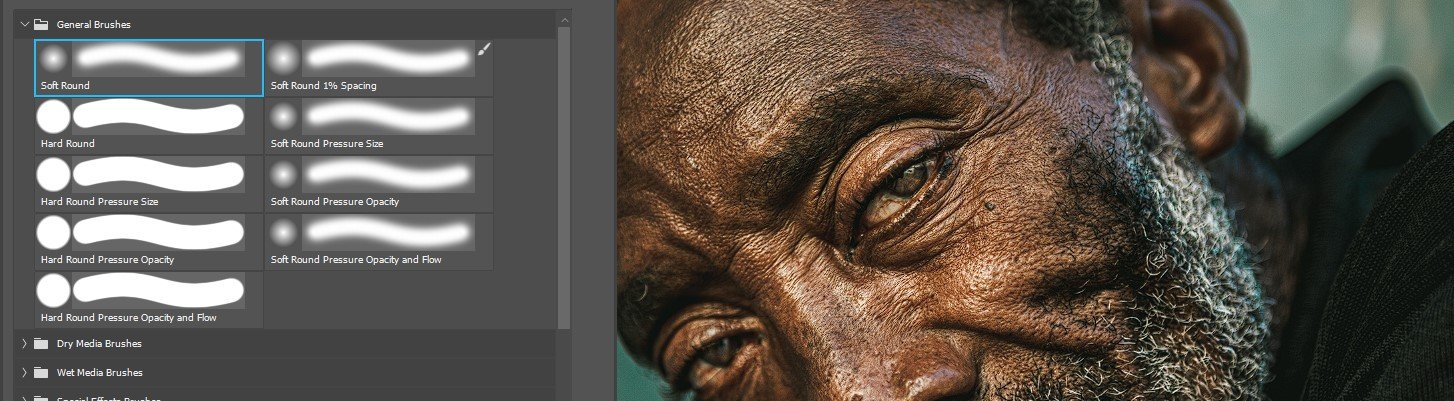
10. Make the foreground color white. Press D and then X if necessary.

11. Set the Flow to around 15 percent.

12. Brush the effect onto the face to the areas that need to be softened. Avoid the eyes.
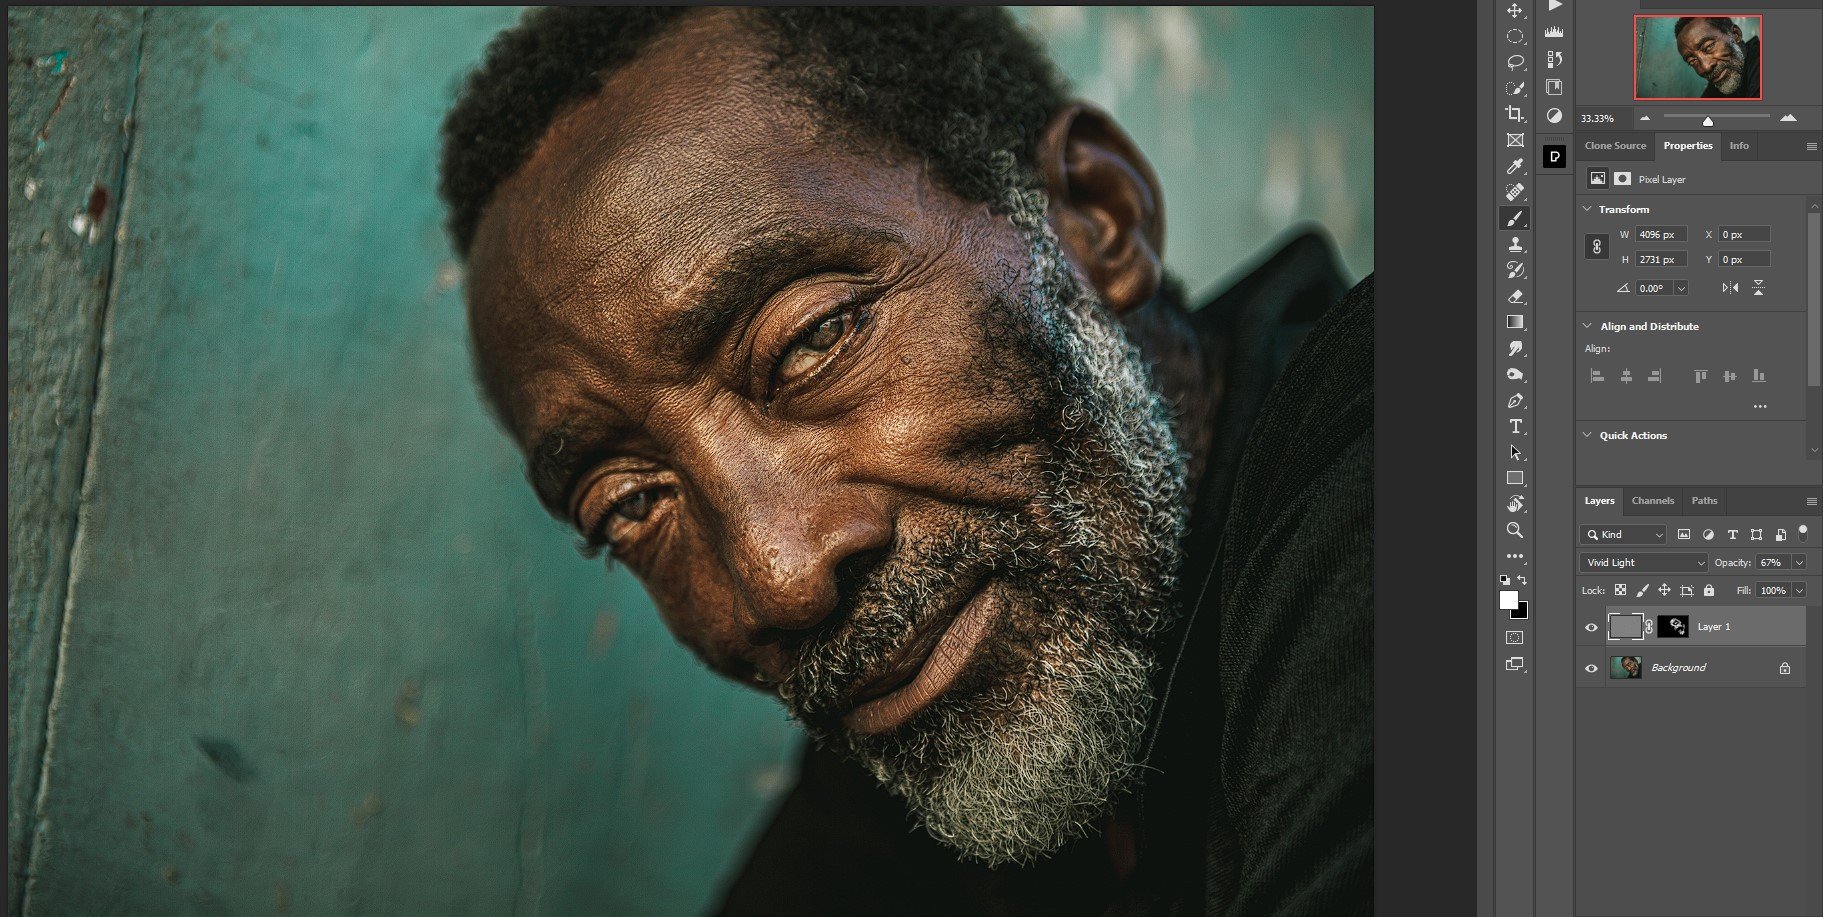
13. When finished, you can lower the Opacity if necessary to reduce the effect to taste. I reduced the Opacity to 67 percent.

Here’s the Before image.

Here’s my After image.
It’s important to remember that every person will have their preference on how far to push these effects when it comes to their own portraits.
As a rule of thumb, many who seek retouching for professional use on websites and social media platforms are looking for a more natural look. And although this could be the goal in other genres of portraiture as well, the retouching criteria for fashion and genres of glamour portraiture could be more in favor of stronger softening effects.
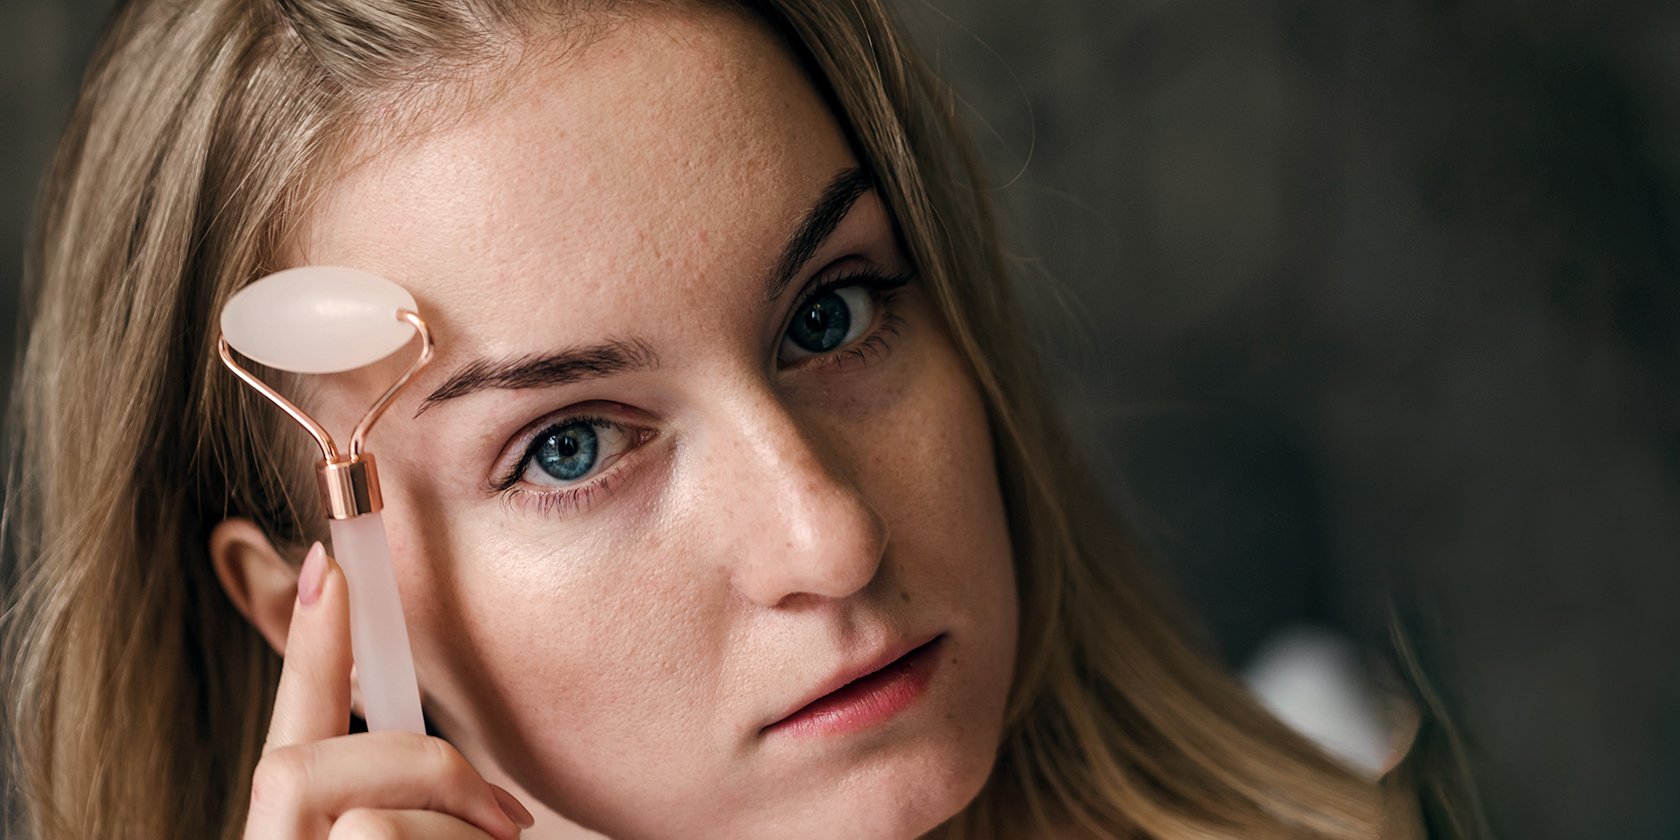
An Example of Skin Softening on a Female Working Professional

I’m going to use the same steps shown above on another portrait. The goal is to make some of the sharp wrinkles softened without blurring them out completely. I want a natural look that doesn’t draw attention to my editing.
Once more, if you’d like to follow along you can download the image from Pexels.
After I brushed on the effects I reduced the Opacity slightly to 89 percent.
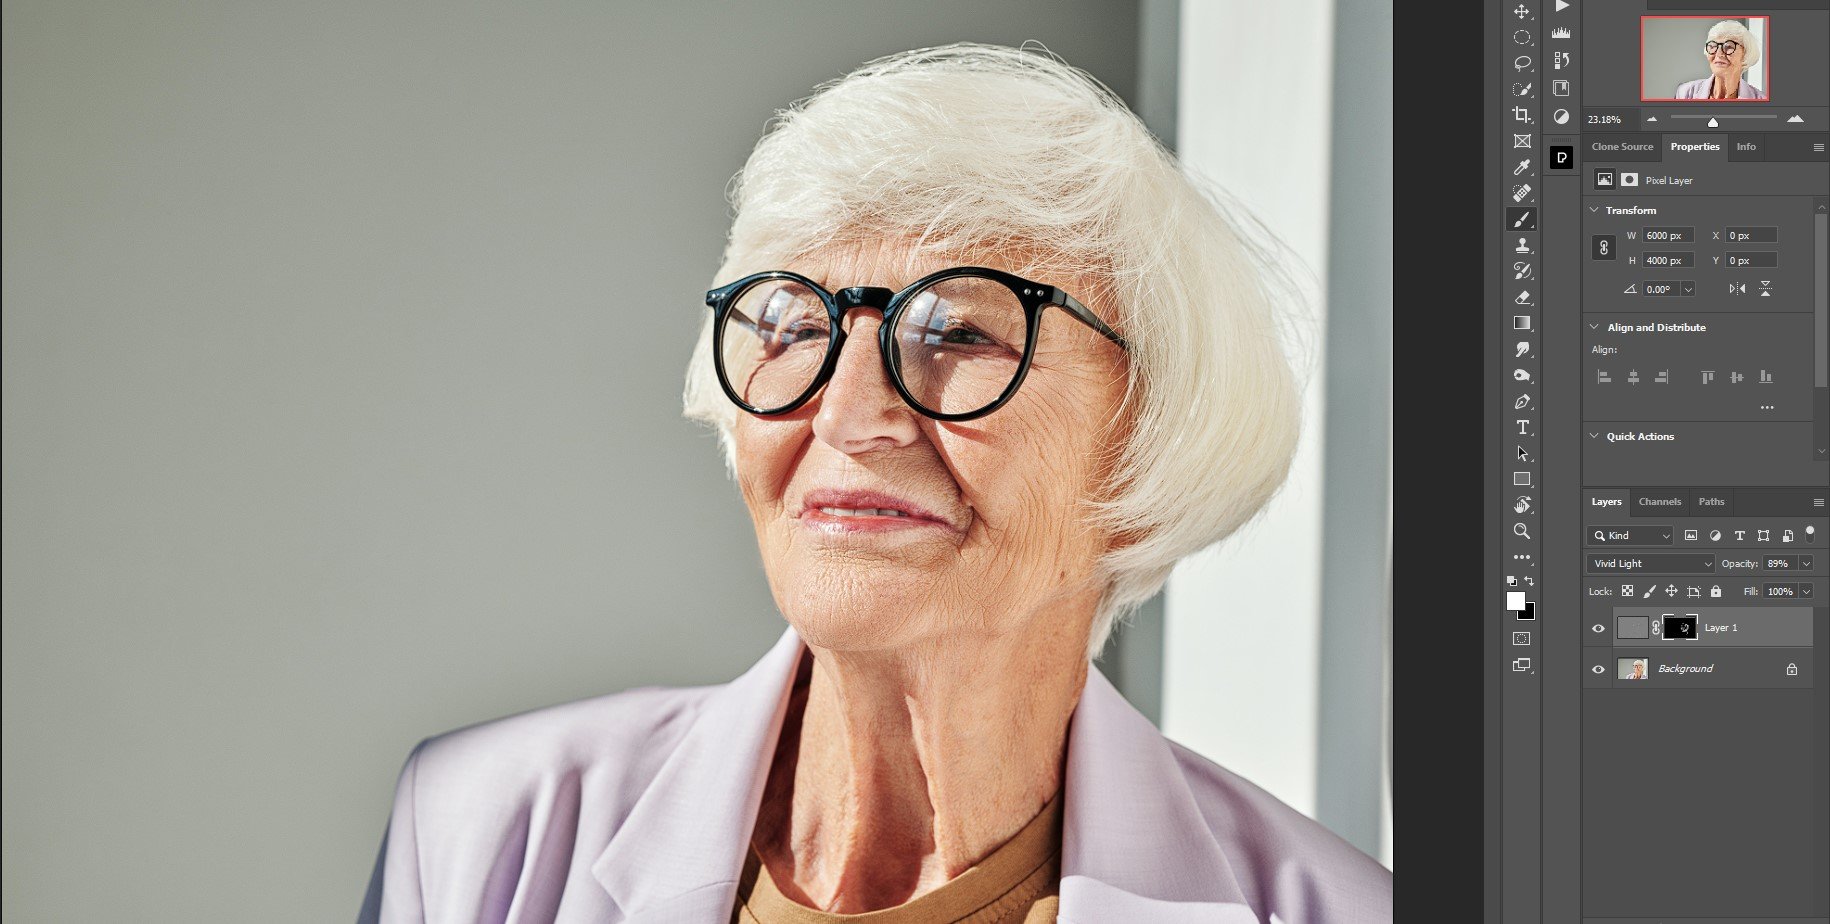
As you can see, the edit is very subtle but I was able to reduce the wrinkles without going overboard.
Softening Up a Sky in a Landscape Photo

Like many techniques in Photoshop, it’s possible to use this one for a completely different purpose, like removing the texture from a sky.
If you look closely at the sky in this image, you’ll see a lot of distortion in the form of texture and JPEG artifacts. In fact, you don’t really need to zoom in to see it but here’s a 66 percent zoom view.
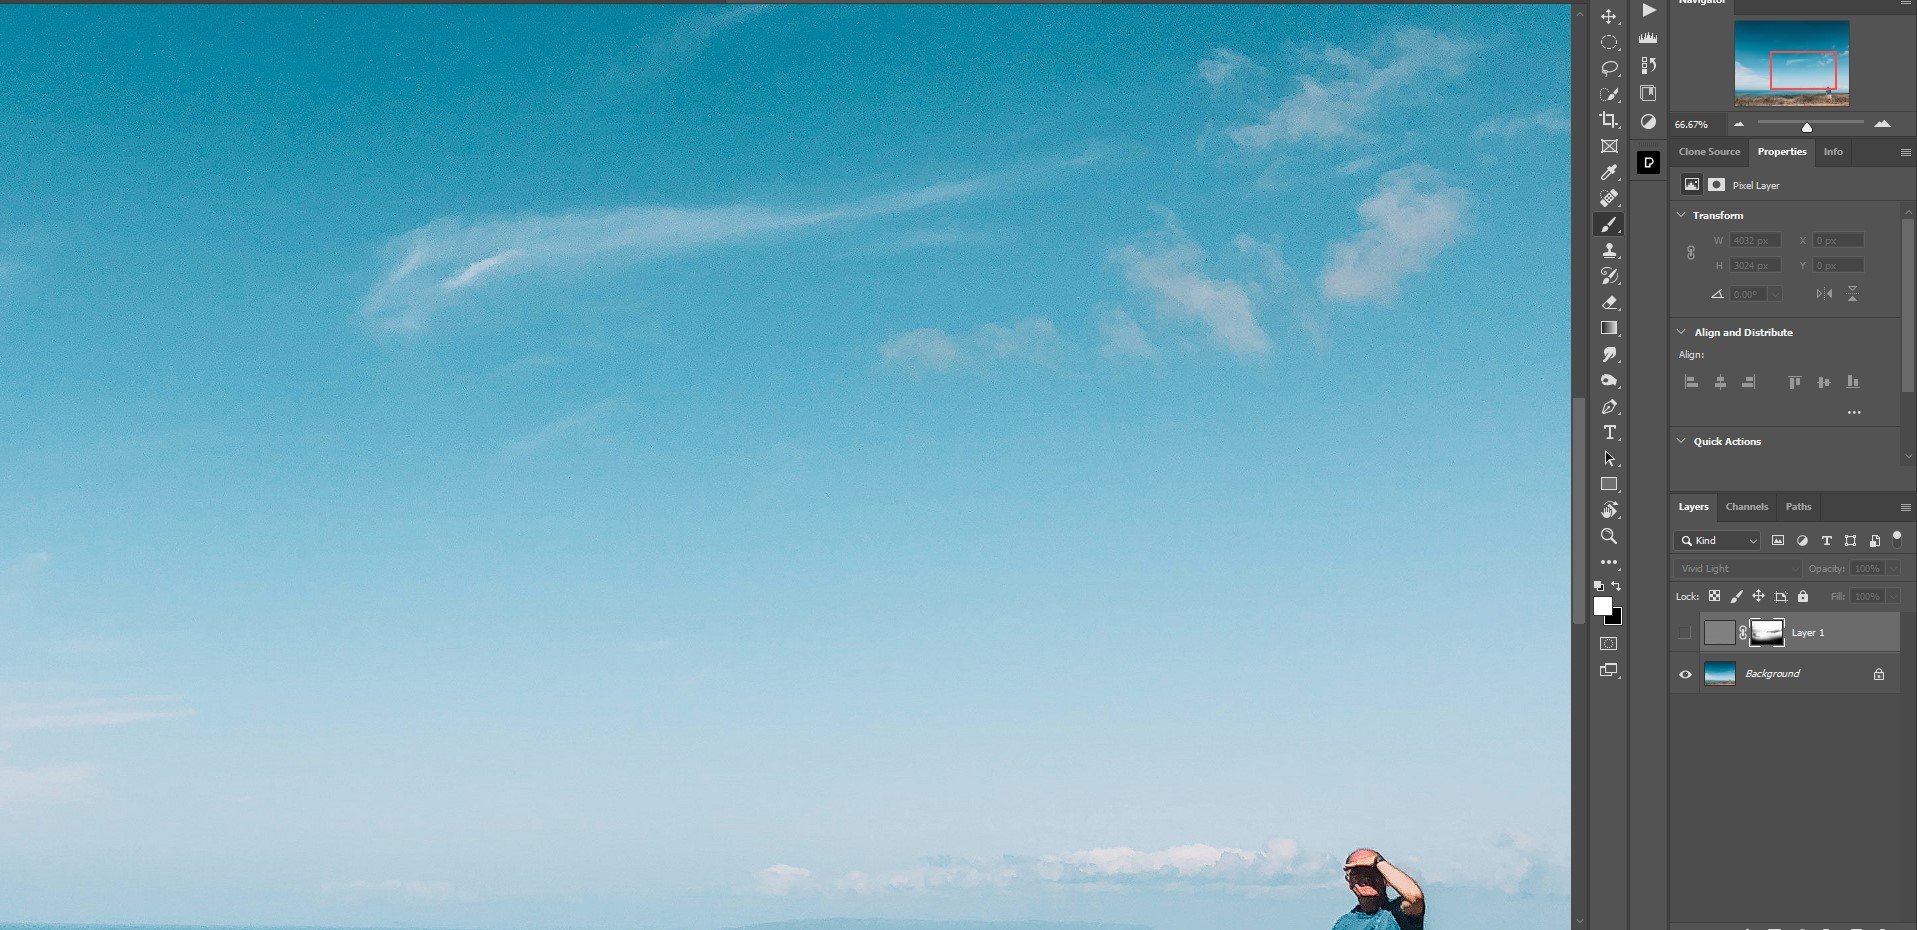
Using the same method that I applied to the skin to soften up wrinkles and texture, I can similarly affect the sky.

While it didn’t completely clean up the sky, the method took care of a lot of the obvious texture issues and greatly reduced the overall noise profile.
Softening Rough Skin and Wrinkles is a Breeze in Photoshop
I hope you found this Photoshop tutorial on skin softening informative and useful. Once you have the method down you’ll find yourself racing through the steps easily enough whenever such issues arise. If you don’t have any images of your own, look for examples on Google to practice with. If you can’t find any good examples, leave a message in the comments and I’ll send you a link there in the reply.
***